For my tutorial this month, I decided to re-use something I wrote a while ago about art journaling but never posted (sometimes, it’s really handy to keep hundreds of drafts on your blog, there may be some jems in there you never posted!). I created this tutorial in 2010 and have since learned a lot more about art journaling and don’t often work in this style, however a lot of people do so I thought I would share how I created old pages and in the future, I’ll post a new tutorial of my current style.

I’ve talked before about my Tips for Becoming a Better Art Journaler and those tips are a great place for you to start if you’ve never journaled before but still want to do my step-by-step tutorial. Art journaling is fun, easy and hard all at the same time and it can help to take a moment and get acquainted with my tips and what art journal is all about.
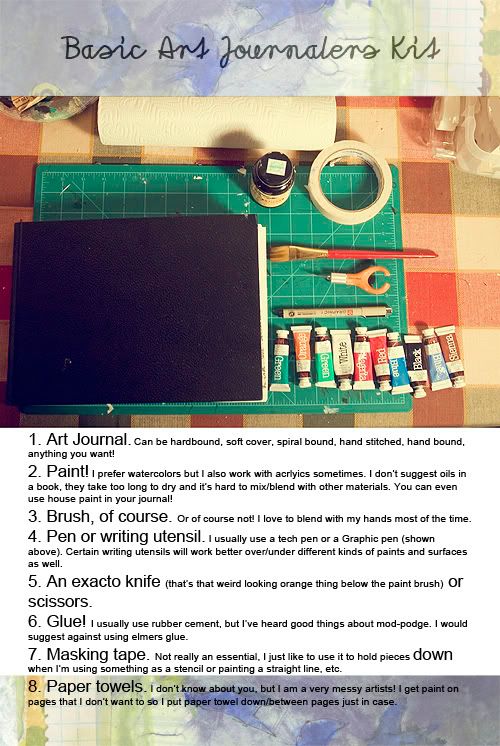
Here is a list of 8 basic materials
I used to use these supplies to create my journals. There is nothing fancy here and I list a few alternatives as well.
(questions about any of the materials listed above? Curious about using an alternative? Comment and let me know!)
I currently tend to only use a hand-bound journal of mixed media paper, watercolors and a tech pen. My art journal style has evolved a lot since I made the list above and that’s okay. Yours will evolve too but the supplies I listed above are a great place to start out.
Let’s start off with a prompt
Then I will take you step by step through the journal page I made using the prompt.
Use a favorite quote. Find a quote you love and incorporate it into the page, create the page around the idea in the quote, or use imagery that defines/describes the quote.
Step 1:
Get your supplies together
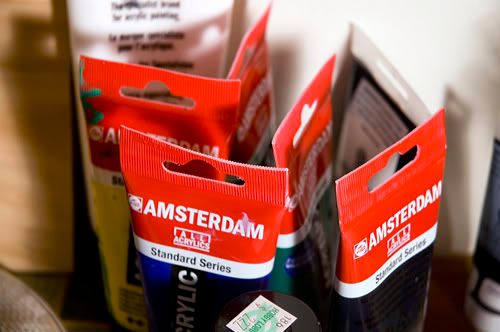
I decided to use acrylics in this page. I also usually pick out 4-5 papers I think I might want to use in the journal. I don’t always use all of them, but picking a color scheme based off the papers helps me get started.
-Journal

-Glue (I recently switched from rubber cement to mod podge, not sure if I will keep using it or not)

-Paint
-Paper/ephemera
Don’t forget the brushes, water, paper towels and scissors!
Step 2: Making your pages sturdy
There are several ways to do this.
If you decide to use a hard bound journal like I do, the pages are not very thick. That means they will get flimsy and wrinkle very badly when you put paint on them (especially if you are using watercolors).
To fix this you can-
1- Gesso your pages. This is a good way, it primes your page and makes it sturdy and thick. This is a good method if you plan to use watercolor or lots of different mixed media. A few things I don’t like about using Gesso, I am a very impatient art journaler. I don’t prepare pages and come back later to work, I don’t do pre-made backgrounds. When I am inspired I need to work NOW! From start to finish on the page and finish it in one sitting or I loose the inspiration for that page. So waiting for the gesso to dry, or gessoing pages well before hand doesn’t work well for me.
2- Buy a sketchbook/journal (or make one) that has thicker paper. You can get a watercolor paper journal, or Canson has a mixed media paper. This is also a great option, but it can be more expensive. And if you get a watercolor journal, you might feel like you need to use just watercolors and your journal should never make you feel contained in any way.
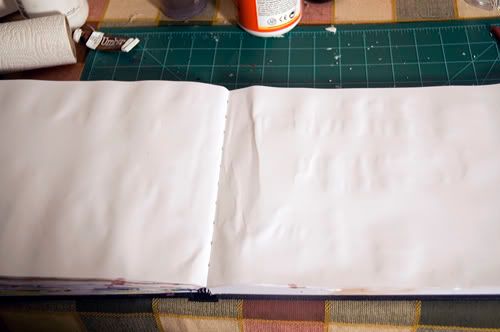
3- Gluing. This is the option I use and it is what is shown in my step by step. Since the pages of my journal are thin (and there are a LOT of pages, this method also helps cut down the journal from over 100 pages, which is a lot of journal pages, to maybe 10 or 12). Depending on what kind of glue you use, you might get wrinkles in the pages but I don’t mind that too much, I like texture. You can gesso over the pages once you glue them together (or use a white acrylic as a primer).
There are wrinkles on my pages, but I think that’s because of the Mod Podge, I didn’t used to get that with my rubber cement.
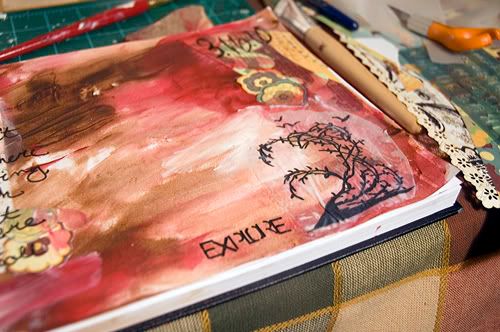
Step 3: Background
I really love to use my fingers to spread any and all kind of paint in my journal. It’s freeing, and I think it blends the paint better.
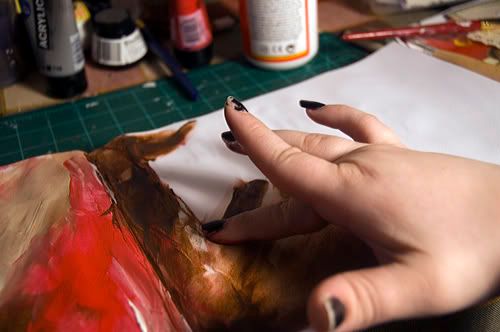
This is a process you should experiment with however, if you are using acrlyics, the more water you add to your finger/the paint, the more the colors will become muddy on the page.
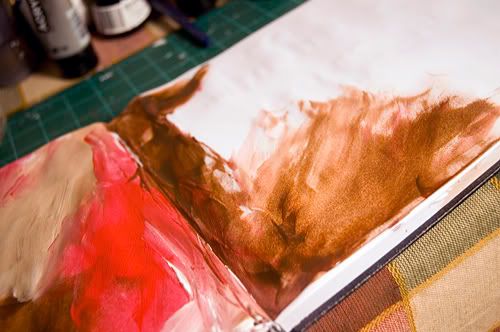
If you look near the left side of the journal, that odd gray spot. That’s where I used too much water and it become a bit too muddy.
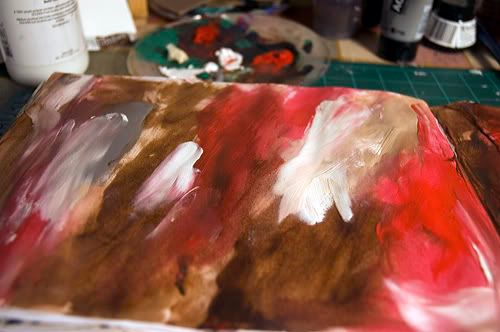
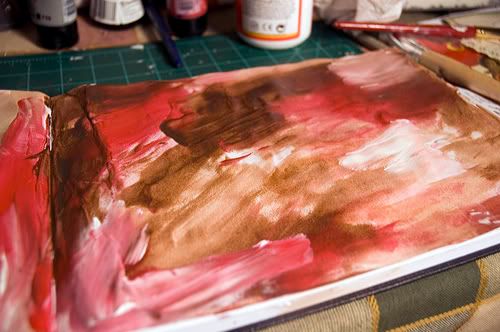
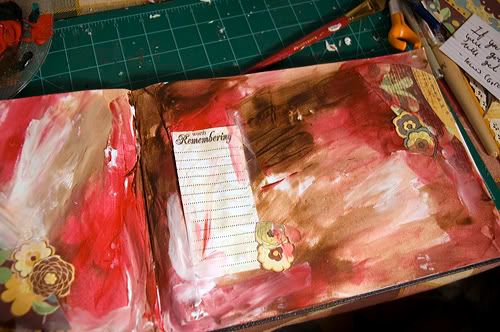
Finished background
Step 4: Preparing Paper and Ephemera
This is an odd in between step.
You have to let your page dry (most of the way at least! But like I said, I’m a very impatient journaler!) before you can start gluing, drawing or collaging on top of it.
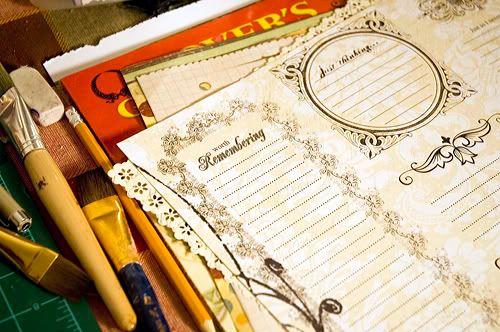
So I took this time to cut out things from the paper I picked earlier.

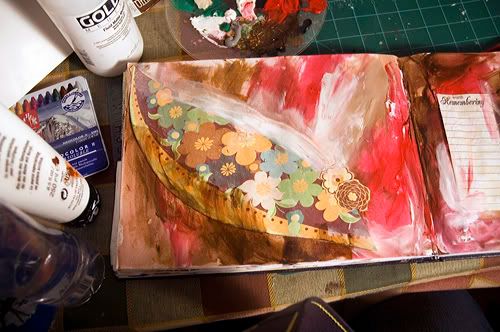
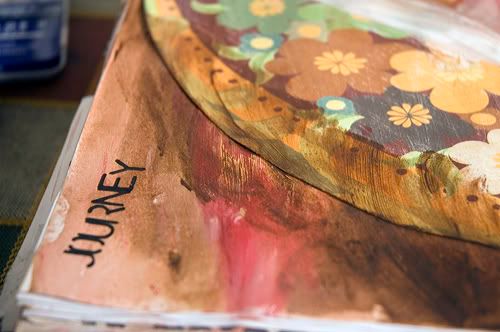
Step 5: Gluing down your paper/ephemera
If you decided to not use paper in your journal, now is that time you could start doodling or writing (I will get to that in my next step)
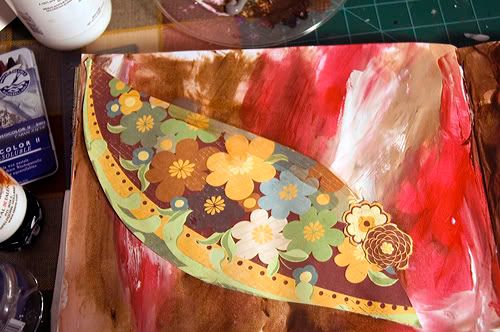
The problem most people have with using paper or images is that they don’t know how to make the image blend into the page. I will do a more extensive post just on layering paper and paint later on but for now here are a few pictures of how I solved the problem in my journal.
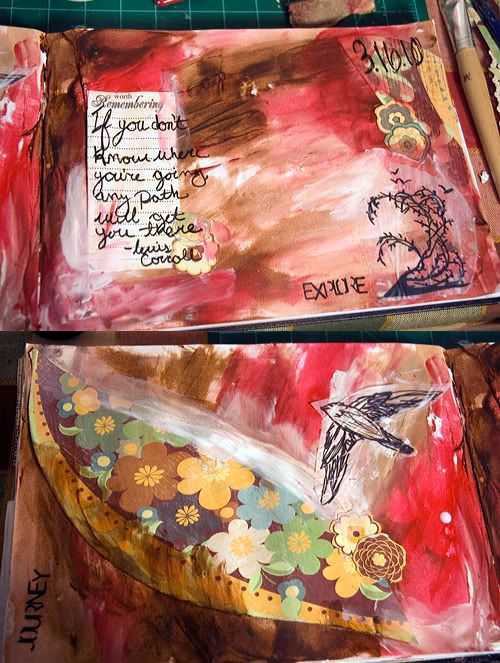
Step 6: Doodles and Words
This is the fun part! Now you can doodle, write and do whatever! Add that quote now.
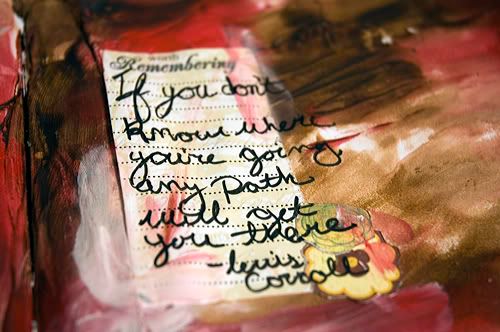

Here is the finished page!
So what are you waiting for, get journaling!
Plan to do this prompt in your journal? I would love to show off all of the pages everyone makes! Please send me a picture via the contact form I will post all pictures with proper credit

One Comment