I’ve decided I want to start creating and posting more diys/tutorials on my blog. I plan on posting one at least once a month and to kick it off I thought I would do something baby related!
From when we found out we were expecting, I wanted to make lots of cute clothes for the baby. I also got the feeling that for the most part, he’d be hanging out in onesies most often, especially at home. So instead of just a bunch of plain white onesies, we decided to screen-print some!
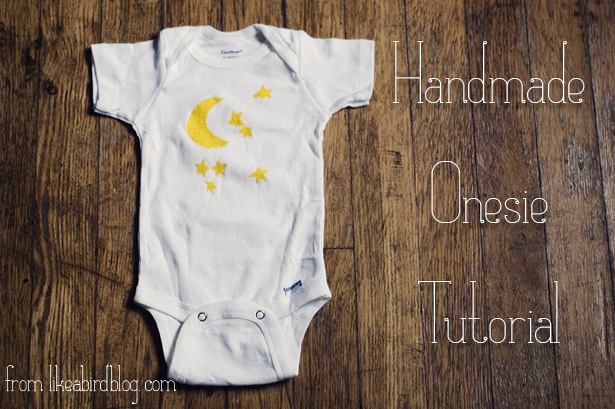
First off a bit of info about screen printing. There are a few different techniques to screen print and a lot of professional clothes you see and love, and would like to replicate are more difficult to do. Screen printing with film emulsion is a longer and slightly more involved process than screen printing with paper stencils, which is what I do. When screen printing with film emulsion, you can get a more detailed image sometimes, however screen printing with paper stencils is the easiest way to make your own clothes, fabrics and art at home with this technique. Several years ago I created a semi tutorial with some basic information on screen printing that you can check out here.
Note: I recommend having someone help you with this project. Wrangle your husband, or your artist-y friends to have a screen printing party! My directions are written out for 2 people.
Step 1 – Design and create your stencil.
For beginners (and this tutorial) it’s best to do only a 1 stencil/color design. When creating your design be sure to keep in mind the space you actually need to cut out. It can be confusing at first to decide what needs to be “negative” space (what’s cut out) and what needs to be “positive” space (what isn’t cut out). I use card-stock and a craft razor to cut out my designs.
Don’t be afraid to experiment and try a few ideas before settling on something you really like. It can also help to test out a design on muslin or cotton before screen printing onto your final product.
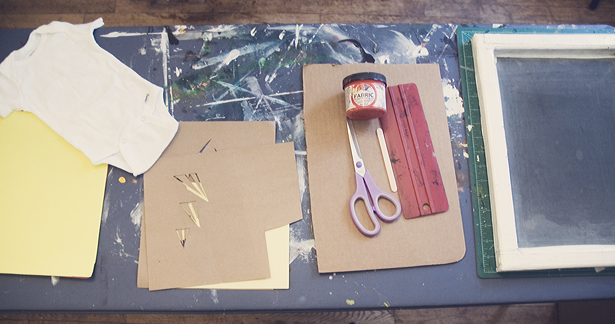
Step 2- Gather your supplies:
-Stencil
-Onesie (or other fabric, cloth or paper)
-Cardboard or newsprint
-Screen
-Squeegee
-Fabric paint (be sure you use paint appropriate for your project/surface)
-Paint brush (very thin bristles)
-Popsicle stick(s)
-Extra card-stock, newsprint or scrap papers
-Iron
-You may also like to have tape and scissors readily available
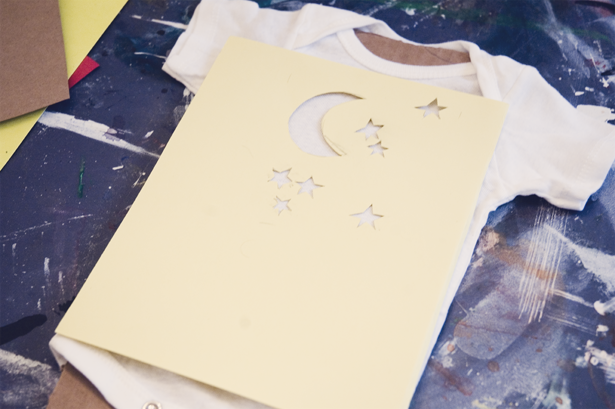
Step 3 – Set up your space.
Take either the cardboard or two pieces of newsprint and slip it inside your garment, if you don’t do this the paint will bleed through to the back. After that, lay your design in place on the onesie and choose the color you want to use.
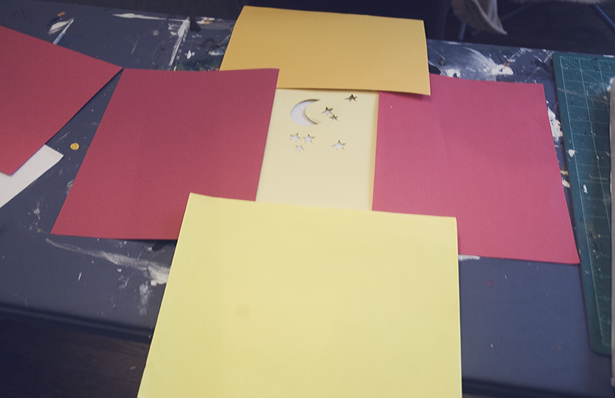
Step 4 – Protect the rest of your onesie.
Take your extra card-stock, newsprint or scrap paper and lay them out on any pieces of the fabric that is showing.
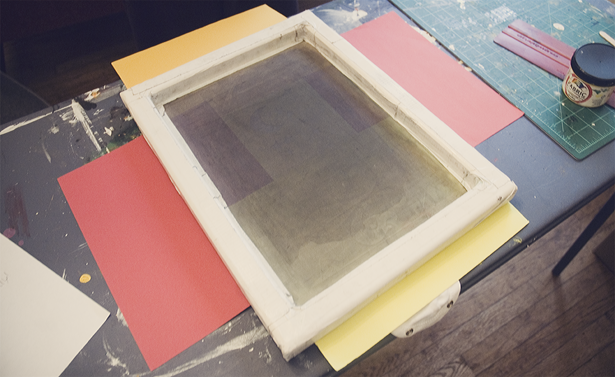
Step 5 – Carefully(!!) Lay the screen on top of your protected onesie.
You want to be really careful you don’t move the design at all either now or during the process.
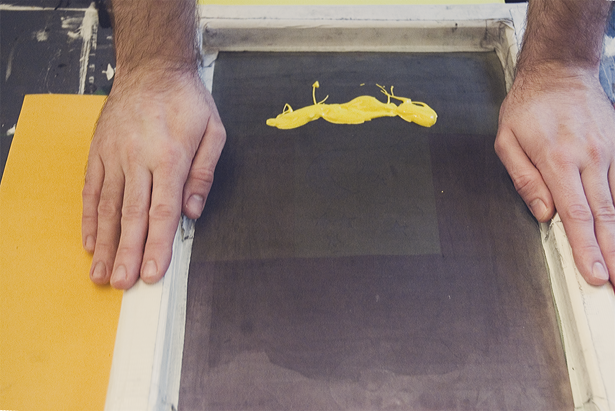
Step 6 – Put your paint on the screen.
You want a good amount to make sure you are getting enough paint through and saturating your fabric. Put the paint in a line an inch or two above where your stencil starts. I use a popsicle stick to scoop out the paint.
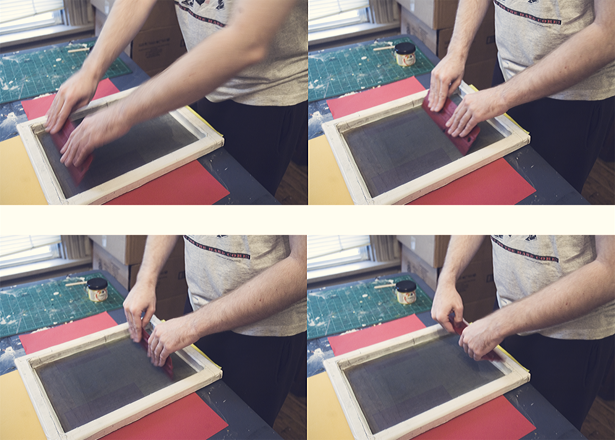
Step 7 –
You WILL need your partner at this step!! Have your partner hold the screen firmly down on the design while you squeegee the paint down. It is very! important that the screen and stencil do not move at all during this process or your image will come out smudged.
The images above show a dry run of the motion you need to use with your squeegee to spread the paint.
My squeegee has a “fabric” side and a “graphic” side, if yours does as well, be sure to choose the correct side. Hold the squeegee at an angle (about 45°) and, with your partner holding the screen, drag the squeegee down the screen until you get about an inch past your stencil. Then lift up at an angle so the excess paint stays on the squeegee. Put the squeegee back at the top, where your paint originally started and either hit it down to get the paint off or use a popsicle stick and then drag the paint down again. You want to squeegee down the screen about 4 times total.
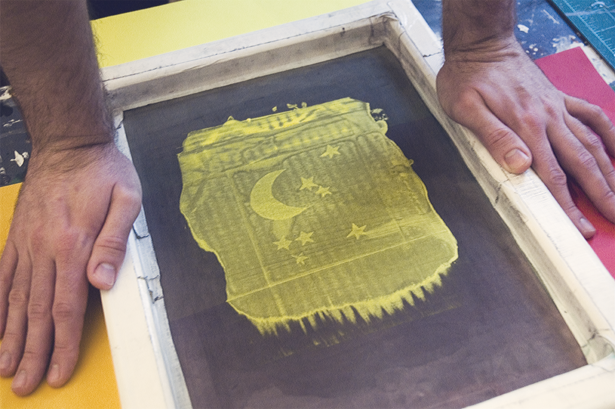
Above is how your screen will look when you’re done squeegeeing.
Step 8 – Very carefully remove the screen and pages below from your fabric.
Step 9 – Clean your screen right away.
You don’t want any paint to dry on the screen as it can ruin it for future use.
Step 10 – Let the paint dry
for just a moment and then peel it away from the cardboard or newsprint inside. You can leave the barrier in for now, you just want to peel it away so it doesn’t get stuck as it dries.
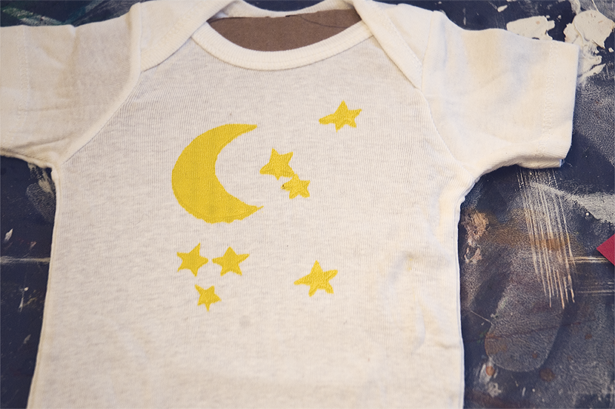
Above is how our first design looked right when we finished.
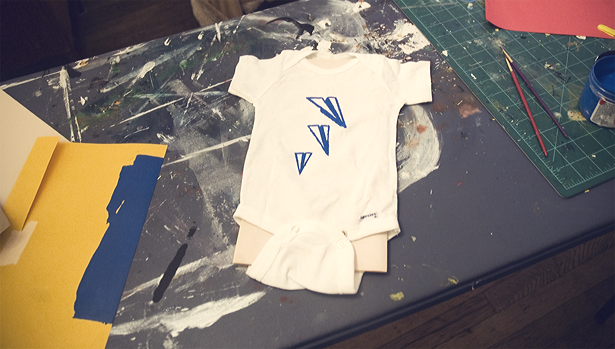 Above is the second design we made.
An additional step that is sometimes needed:
Step 10a – You may find that some lines in the final design on your fabric are not smooth or are missing altogether. You can make small touch ups with a thin paint brush right when you’re done screen printing. For example, on the onesie above I had to complete the airplane wings by painting the line at the top of the wings. In our stencil, I couldn’t cut out this line for the screen printing process or the stencil would not have been sturdy and intact.
Step 11 – Let your design dry completely.
I left mine overnight but 30minutes to a few hours is okay as well. Just be sure it is dry.
Step 12 – Turn the onesie inside out
and lay a piece of muslin or newsprint over the design and iron it for about 2-3 minutes.
Step 13 – Turn onesie back
the right way and repeat the same as step 12. Ironing the design will help set it in so it won’t wash out. I have never had a design wash out on me!
Step 15 – Wash onesie normally before use.
Step 16 – Enjoy!
If you’re interested in learning more about screen printing here are a few resources, videos and my supply recommendations:
How to Screen Print with Stencils via Dick Blick
Speedball Printing Kits (I have the fabric kit but the stencil kit would be a great one to start with as well.)
Some books on screenprinting
I hope you enjoyed my tutorial and if you have any questions on making your own onesie (or other clothes!) please let me know!
Also any requests for future tutorials are always welcome too.

Ps- Like a Bird is now listed on Top Baby Blogs! It’s a great place for me to connect with other bloggers. It would be so great if you vote for Like a Bird, all it takes is 2 little clicks
(you can vote once every 24 hours!)
Just click on the banner below or the banner in my sidebar to the right.


One Comment